This is one of the first projects that I came up with. Its something that I used to do when I first started in photography to play around with my gear, figure out settings and get used to my camera.
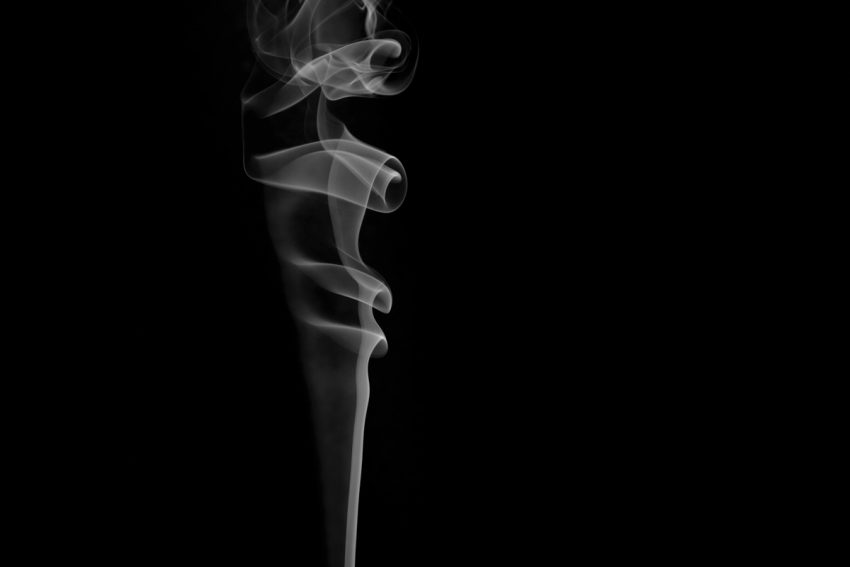
In this video I share 3 different ways you can setup and use your camera gear at home to be able to photograph smoke generated by Incense or Vapouriser.
Constant Light
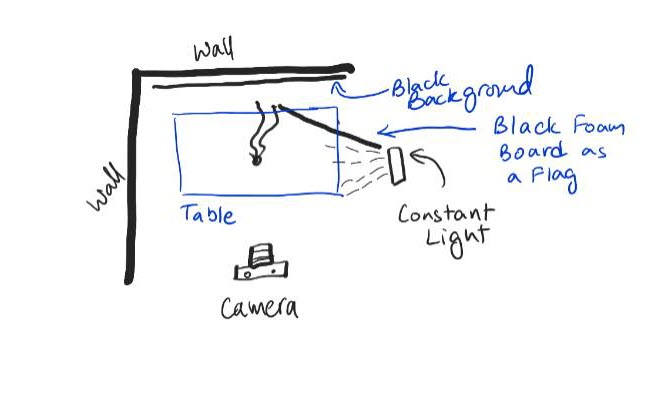
First method, uses a constant light that is side lighting the smoke from either right or left side. Make sure you have a black background and try to flag off the light with another cardboard or cloth so that your background is not lit by the light source. This will allow you to have darker black background so less post-processing is needed. Otherwise you have to do lot more post-processing.
Set your camera is Zone Focus where many focus points (refer to you camera’s manual if not sure or google it) are activated in order to achieve focus. You can then setup and wait for the composition you want before taking the shot.
Flash Light – Mounted on Camera
In this second setup, which is what I had done originally in my early days the flash light is mounted on top of the camera so to side light it you need to bounce it of a larger surface.
In my case, the setup is pretty much the same as above, black background but the side lighting is done from the left as the white wall becomes my light source. The challenge here is that its difficult to completely flag off so that the light doesn’t fall on the black background. You can do it if you have bigger room. Otherwise you have to do a bit more post-processing afterwards.
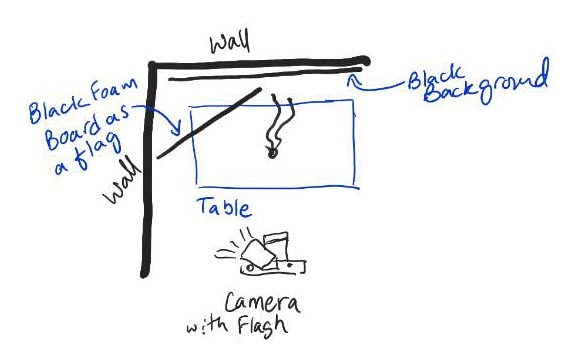
Rotate/twist the flash head 45 to 90% to the left so that the light is bouncing off the wall (in my case) and lighting the smoke from the left. As we use bounce light this light source becomes pretty big and wide so you need to flag off the background as much as possible. You will get some spill of the light on the background in this setup but as long as its not too bright, you can fix it post.
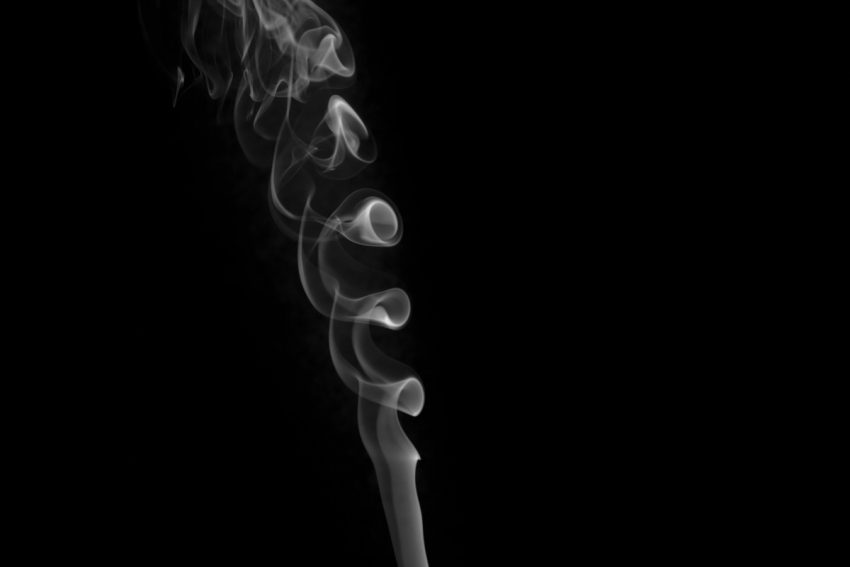
Flash Light – Off Camera with Remote Trigger
In this setup the flash is off camera and remotely triggered using Godox Trigger X2. The setup is pretty much identical to Constant Light except I can now control how much light and focus the beam of light produced by the flash.
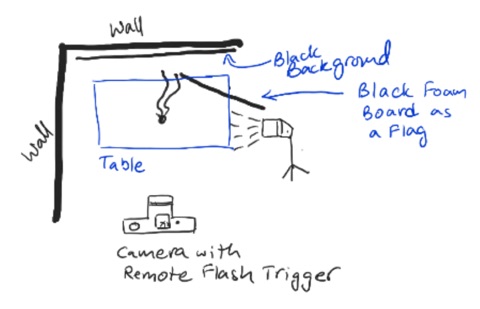
The flash is set to fire a short burst of 1/128th power with the zoom set to max so the flash if very focused.
The Black foam board acts as a flag to prevent any light from falling on the background. This makes it later in post to edit the photos as most of the background remains dark as a result.
Get Creative in Photoshop
Arrange multiple images over the top of each other to create a bouquet and apply colours to make the result even more impressive. Check out the Edit in the 2nd part video of this project.
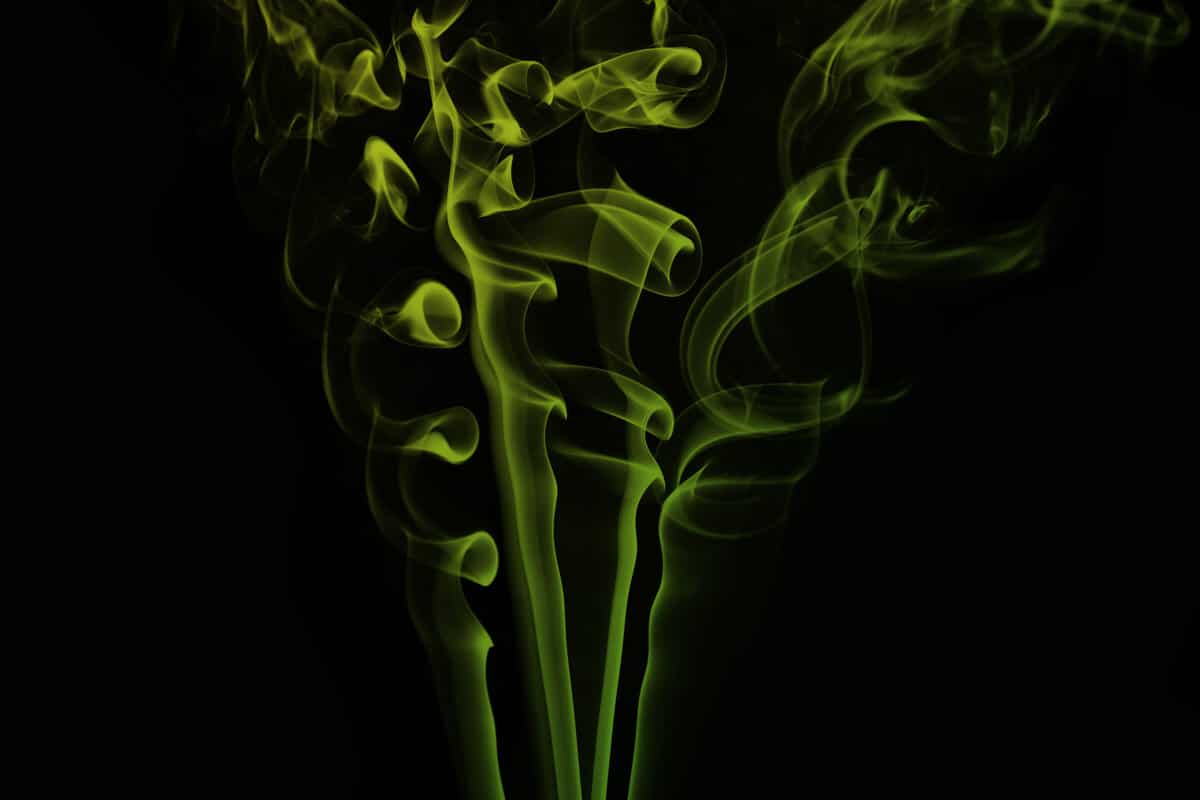
Hope you guys enjoy this project and give this a go yourself. If you do, don’t forget to share your photos with hashtag #hgstayathome on Instagram.
If you enjoyed having fun with smoke, checkout this post – How to Use Smoke Bombs to Create Stunning Images – Read more


