In this post, I want to share some of the key differences between the Optical Viewfinder (OVF) aka Rangefinder and Electronic Viewfinder of the Fujifilm X-Pro3.
Thanks to Fujifilm Australia for letting me borrow this camera for sometime but when I was considering what I should talk about that isn’t something that has already been done, I came to realise that infact I couldn’t find any videos on understanding the differences between the OVF and EVF.
So I decided to create this post and video about the viewfinders of the X-Pro3.
X-Pro3 with Fixed Prime Lens
I had attached the Fujinon XF 23mm F2 lens to the X-Pro3 and the first thing you notice via the optical viewfinder (OVF) is that you do see the Lens in your frame. This is the xf 23 F2 lens which is quite small therefore with a bigger lens it will protrude more in your frame of the optical viewfinder.
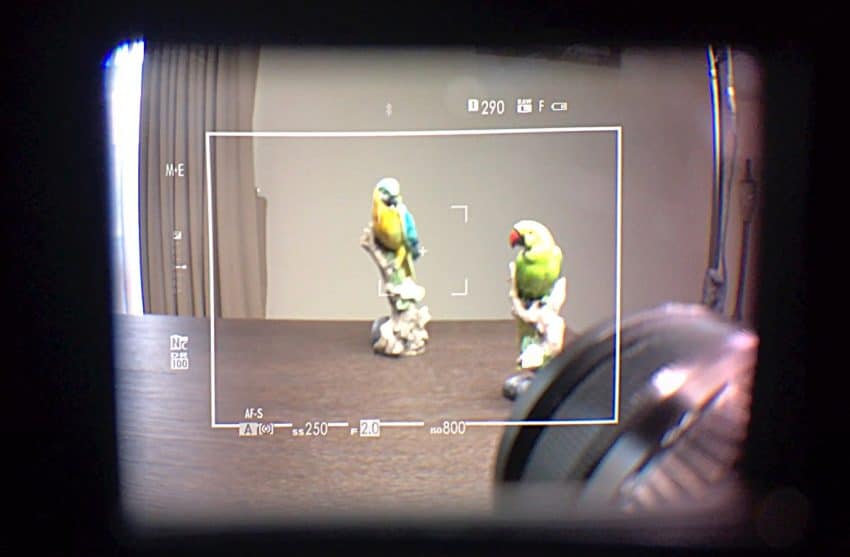
You get an overlay on the OVF which shows you the Frame of your compostion, focus points and all the very useful and crucial information that anyone would need. For example, the Shutter Speed, Aperture, ISO, Exposure compensation etc.
Now as you move around to frame the composition, depending upon your distance from the camera the frame guide will move around on the screen to show you what you are composing. Compare the two images you will notice that the frame guide is smaller in size. As you get closer to the subject it gets smaller.
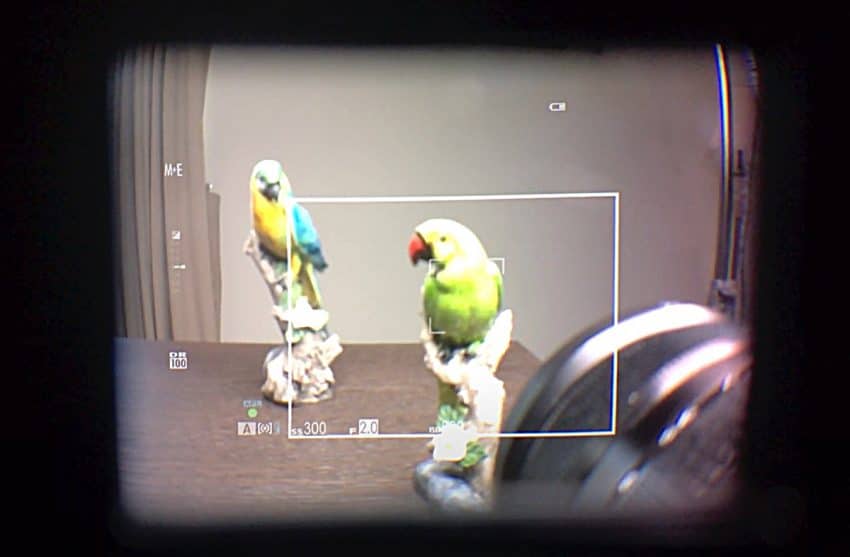
When you switch to Electronic viewfinder you see the actual composition with the film simulation etc that is being read by the camera sensor. You have all the shooting information like you ISO, shutter speed, aperture and the whole heap of other useful information.
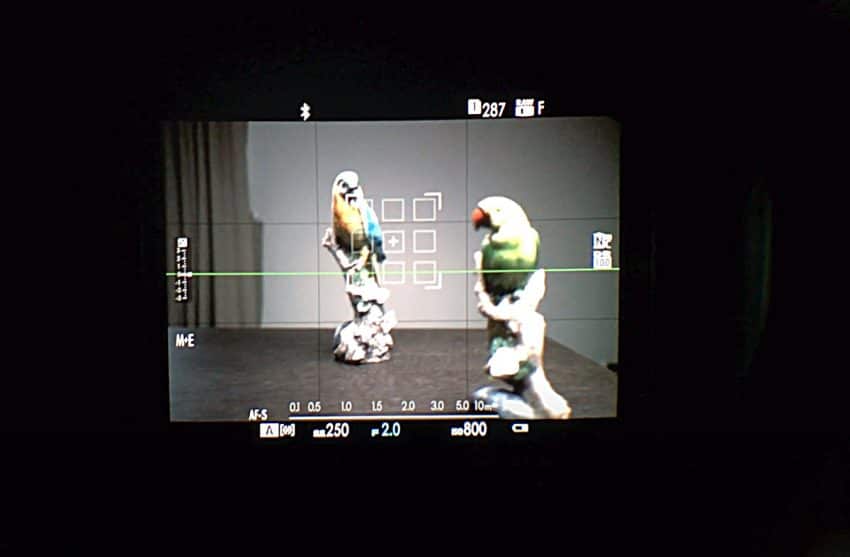
Switching between OVF and EVF
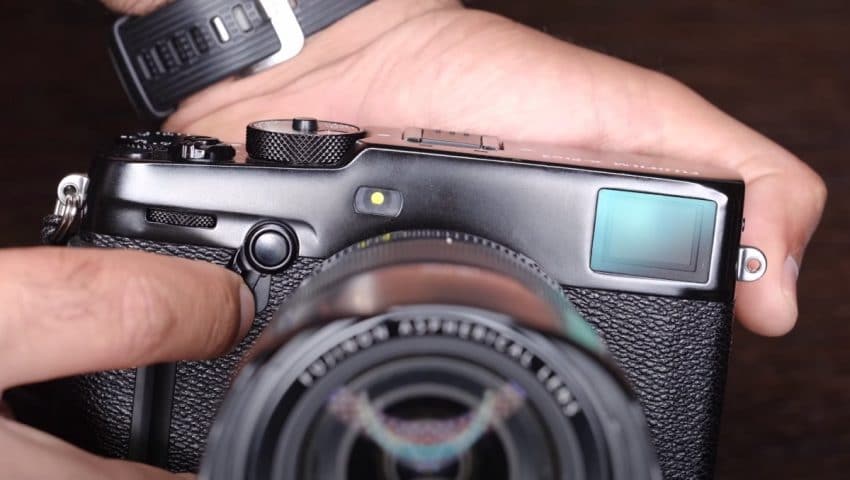
The switch located at the front will allow you to switch between the OVF and EVF, and what happens when you pull on the switch (as pictured below) it brings up the EVF screen inside the OVF so that it blocks the view of the OVF. So what you are seeing is a screen projection of what is read by the camera sensor. In order for the swtich to happen the proximity sensor on the viewfinder must be triggered. You can do this by covering the viewfinder with your hand or when naturally viewing through the viewfinder (ie. camera is in front of your face). The EVF popups up in a split second.
X-Pro3 with a Zoom Lens
So the first thing you will notice is that the lens is protruding the optical viewfinder a lot more than the fixed lens which we had on before. When I zoom in with the lens to the selected composition frame of what is actually going to captured starts to become smaller and smaller, this is due to the zoom of the lens offering a max of 135mm focal length.
At times its pretty hard to make out your composition and know what you are shooting.
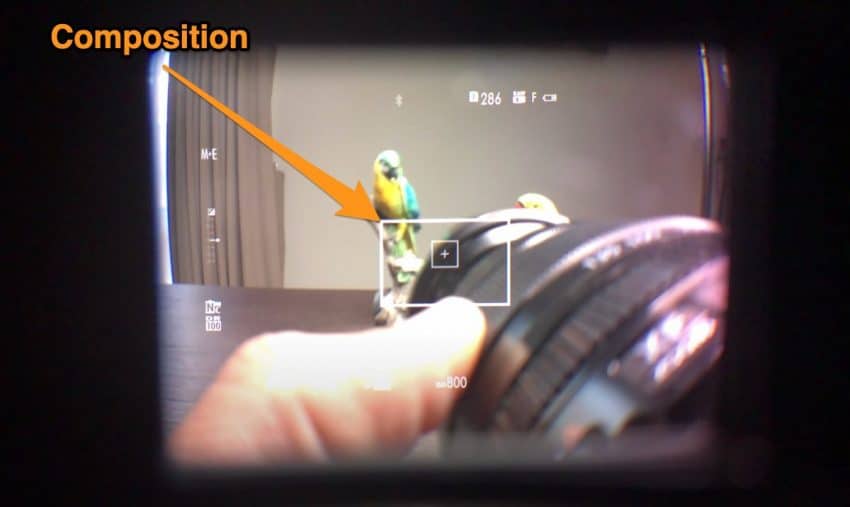
The end result is this.
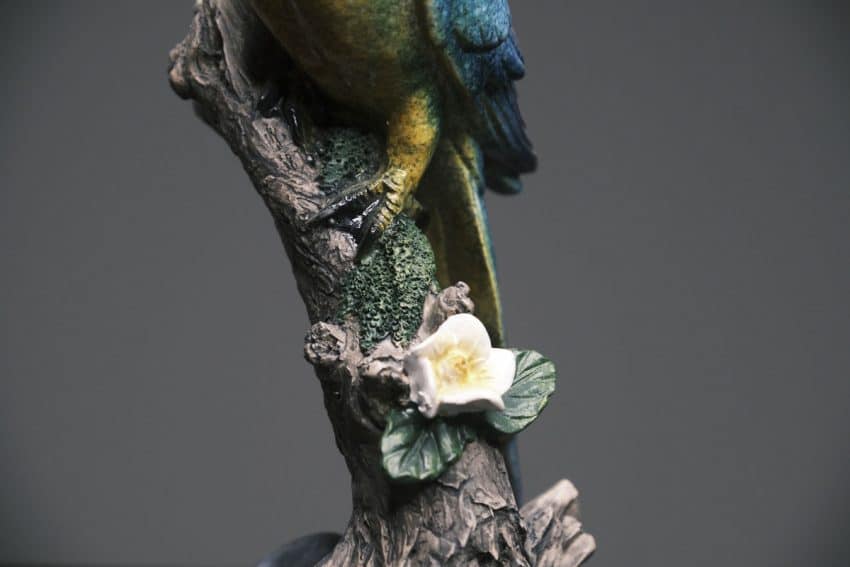
No surprise when you switch to Electronic Viewfinder, you are seeing the actual frame that is your composition which will be captured. You are here seeing also the film simulation being applied by the camera.
Conclusion
So in conclusion your composition is pretty tricky when it comes to using the OVF in combination with a zoom lens. Not to say that you cannot use it. You certainly can switch to the EVF completely and keep shoooting. In fact this is what I did early December when I went to my company’s Christmas Party and I shot with the X-Pro3 for 2 days straight with the XF18-135mm Lens. It works and works well.
The X-Pro3 is the choice of camera for Street Photographers typically and from what I read after posting my video on various social platforms, many people love to use the OVF while others prefer to use the EVF. I personally don’t mind either when using a Fixed Prime lens but I find myself more gravitating towards the EVF more often.
Also the viewfinder being on the left side of the camera, means that my big nose doesn’t get in the way when shooting with the X-Pro3. If you made it this far, thanks for stopping by on my blog and don’t forget to share below in the comments what you use on your X-Pro3.


